Notation
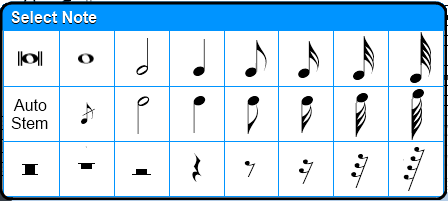
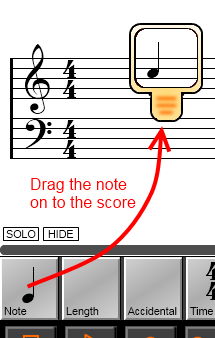
To add a music note or symbol into the score:
When selecting notes (see above) the Auto Stem button can be used to enable or disable automatic stem directions. Use this option to have the stem direction automatically determined based on the note position after it is dragged into the song. This button lights up when active.
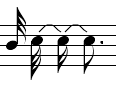
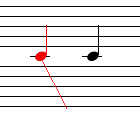
When selecting notes it is possible to drag a Grace Note into the song (![]() symbol
next to the Auto Stem function). These may be added as pure ornamentation,
or tied to a note to sound during playback:
symbol
next to the Auto Stem function). These may be added as pure ornamentation,
or tied to a note to sound during playback:
Ornamental: The grace note does not sound during playback

Functional: The grace note sounds during playback, by tying it to another
note
 which is equivalent to
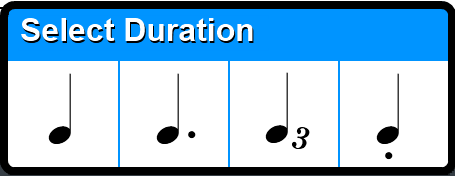
To add a dotted or triplet note, or to add a staccato accent:
To add sharps, flats or naturals to the music:

Auto Alignment of Notes in Other Tracks
When notes are entered into the music it is often desirable to line up the
different tracks so that any notes positioned vertically in the same column will
play at the same time regardless of which track they are in. Touch the
![]() button located just above the Note
selection button on the main screen to activate "Auto Sync" mode, which will
automatically recalculate this alignment whenever new notes are added to the
score.
button located just above the Note
selection button on the main screen to activate "Auto Sync" mode, which will
automatically recalculate this alignment whenever new notes are added to the
score.
Note that when Auto Sync mode is active, the horizontal "column" position of new notes is automatically determined by Symphonix Evolution.
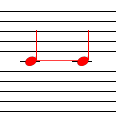
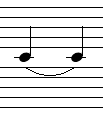
Sometimes it is useful to tie
 or beam
 notes together. This
can be done as follows:
notes together. This
can be done as follows:
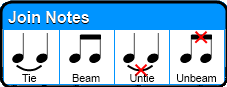
Similarly, to untie or unbeam notes, use the touch/drag function to highlight them in orange and choose the "Untie" or "Unbeam" menu options when prompted.
Use the Measures button to add or remove a Measure (bar) from the score:
Alternatively it is possible to add a measure quickly without having to make a selection:
Touch the Measures button without dragging to Go directly to a measure.
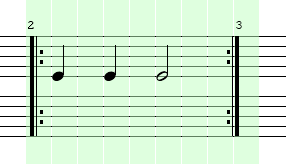
Add a Repeat to one or measures by following these steps:
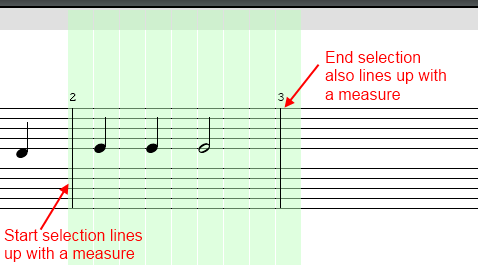
1. Select the measures to be modified. The repeat will be added at the
start of the measure where the selection begins, up to the end of the last
measure where the selection ends:
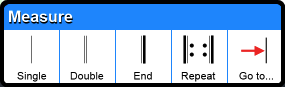
2. Press the Measure ![]() button on the main toolbar.
button on the main toolbar.
3. In the Measure options, press the Repeat
button to add the repeat symbols
4. Symphonix Evolution will ask how many
times to repeat the selection. Specifying "1" will repeat the section once
(i.e. it will play twice). Specifying "0" will remove an existing repeat:
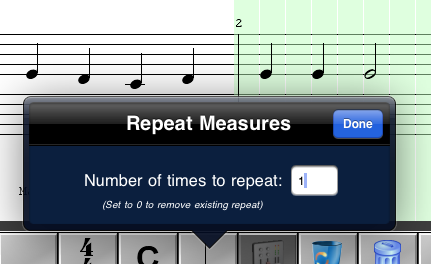
4. Touch "Done" to confirm the repeat count. The measures will now be
displayed with Repeat notation and will play back accordingly:
It is also possible to add repeats by using the Selection menu:
1. Touch inside the selection to display the Selections menu:
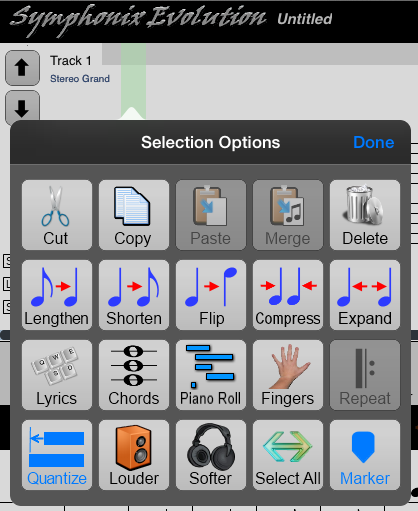
3. Choose the "Repeat" option. Symphonix Evolution will ask how many
times to repeat the selection. Specifying "1" will repeat the section once
(i.e. it will play twice). Specifying "0" will remove an existing repeat:
4. Touch "Done" to confirm the repeat count. The measures will now be
displayed with Repeat notation and will play back accordingly:
Many songs do not keep the same key signature throughout - quite often a piece of music will require a key change. With Symphonix it is possible to enter a Key Change at any point in the music.
Changing all notes after a certain point in the song to be scored in a new Key Signature:
Changing a range of notes temporarily to a new Key Signature, and then back again to the original Key:
It is possible for the Time Signature to change in the middle of a song. A time signature change can be added as follows:
The time signature will be added at the selected position
To add a tempo change to the current song:
Now when playing the song, the tempo will change to the new value at that point in the music.
The Notation Panel can be scrolled in two different ways:
Scrolling Directly to a Measure Number
It is possible to jump directly to a Measure by touching the Measure
button ![]() :
:
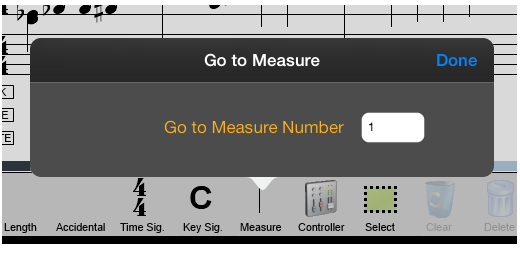
Enter the desired measure number and touch the "Done" button to position the display on that measure.
By default, the Notation panel displays the current track in black, with other tracks in a translucent gray. This makes it easy to see how the different tracks interact, but it can make it difficult to use the Notation to play a single part because of all the overlapping notes.
Use the ![]() button in the
lower left corner of the Notation panel to toggle the display of other tracks.
When Hide mode is active only the current track is visible.
button in the
lower left corner of the Notation panel to toggle the display of other tracks.
When Hide mode is active only the current track is visible.
Note that Hide mode does not affect playback or recording.